Unlocking the Mystery of Knitting Gauge: A Comprehensive Guide
Knitting is a tapestry of creativity and precision, where every stitch weaves a unique story. Amidst this artistry, a seemingly technical aspect plays a pivotal role in ensuring your projects turn out as envisioned – knitting gauge. In this blog post, we'll unravel the intricacies of knitting gauge, exploring its definition, factors, measurement, significance, and much more.
What is Knitting Gauge?
Knitting gauge refers to the number of stitches and rows in a given measurement of knitted fabric. It serves as a blueprint that determines the size and proportions of your finished project. A proper knitting gauge ensures that your creation matches the dimensions specified in the pattern and aligns with your creative vision.
Factors Affecting Knitting Gauge:
1. Yarn Choice: The type and weight of yarn you select greatly impact your knitting gauge. A thicker yarn creates larger stitches, resulting in a looser gauge, while a finer yarn leads to smaller stitches and a tighter gauge.
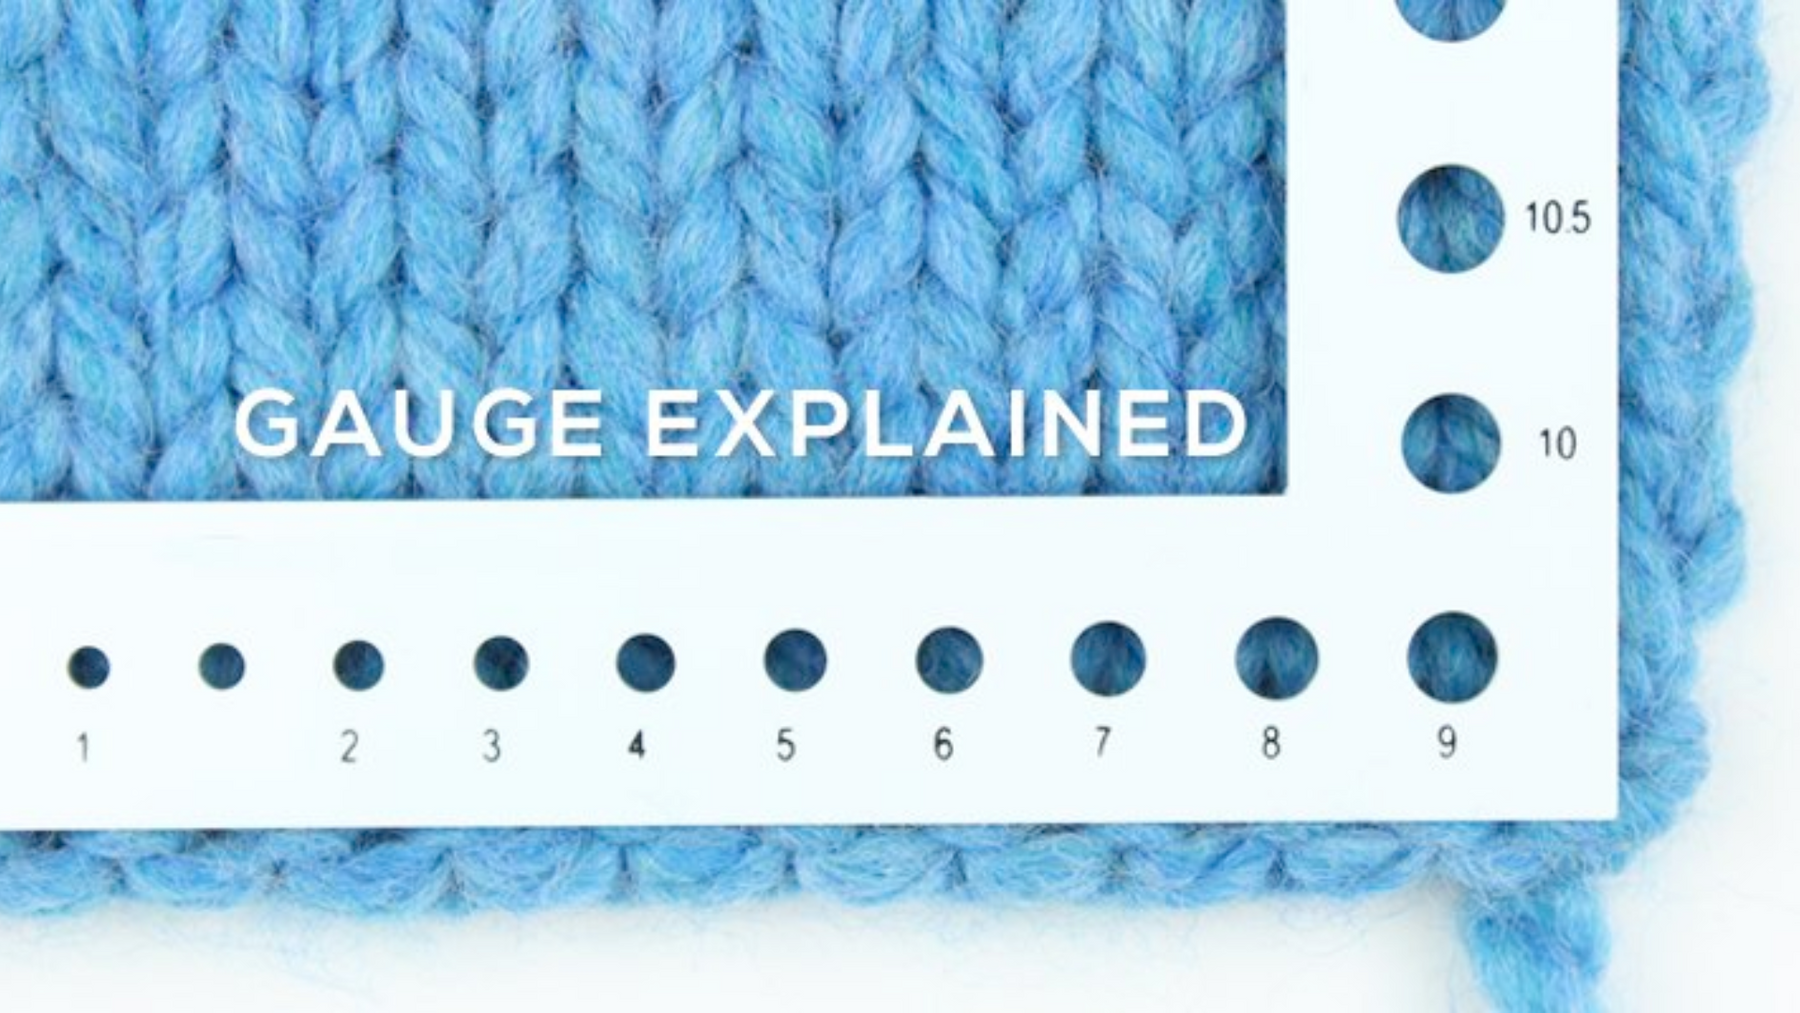
2. Needle Size: The size of your knitting needles influences the tension of your stitches. Larger needles create looser stitches, leading to a larger gauge, whereas smaller needles produce tighter stitches and a smaller gauge.
3. Tension: Your individual knitting tension, the force with which you pull the yarn while knitting, also affects the gauge. Some knitters have a naturally tight tension, resulting in a smaller gauge, while others knit more loosely, leading to a larger gauge.
Measuring Knitting Gauge:
To measure the knitting gauge, follow these steps:
- Choose the Right Needles: Select needles that match the size recommended in your pattern.
- Create a Swatch: Knit a swatch of fabric that's larger than the specified gauge measurement. Aim for at least 4 inches by 4 inches (10 cm by 10 cm).
- Count Stitches and Rows: Measure a section in the middle of the swatch and count the number of stitches and rows within the specified measurement.
- Calculate Gauge: Divide the number of stitches and rows by the measurement to determine your gauge (e.g., stitches per inch or centimeter and rows per inch or centimeter).
How Gauge is Written:
Gauge is usually written in the pattern as a ratio, such as "22 stitches and 30 rows = 4 inches in stockinette stitch." This means that when you knit a 4-inch (10cm) swatch in stockinette stitch using the recommended needles and yarn, you should have 22 stitches and 30 rows.
Why is Gauge Important?
Gauge might seem like a technicality, but it's a crucial aspect that can make or break your knitting projects. Ensuring that your gauge matches the pattern's gauge ensures that the finished piece will fit properly and have the intended dimensions. Deviating from the specified gauge can lead to ill-fitting garments, incorrect sizing, and the need for extensive modifications.
In essence, knitting gauge is the foundation of a successful project. It's the bridge between your creative vision and the final masterpiece. By understanding the factors that influence gauge, diligently measuring it, and adjusting your knitting techniques accordingly, you'll unlock the power to create projects that are not only beautiful but also perfectly tailored to your intentions.
How to Knit A Gauge Swatch
To knit a gauge swatch, start by selecting the yarn and needles specified in your pattern. Cast on more stitches than the suggested gauge width, aiming for at least 4 inches by 4 inches (10 cm by 10 cm). Work in the recommended stitch pattern for a few inches, maintaining a relaxed tension. Once your swatch is complete, measure a section in the middle, counting the number of stitches and rows within the specified measurement. Compare these counts to the pattern's recommended gauge. If they match, your gauge is on track. If not, adjust your needle size accordingly: go up in size if you have too many stitches and down if you have too few. Repeat the process until your swatch matches the pattern's gauge.
Remember, a little time invested in knitting a gauge swatch can save you from potential frustration and disappointment later in your project.
Leave a comment